Step 3 of Our Wardrobe Makeover Series – Your Hanging Space
Welcome back to our Wardrobe Edit Series!
In Step 1 and Step 2, we tackled your drawers and shelves, sorting, culling, and organising.
Now it’s time to focus on your hanging space: one of the most visual, functional, and often overwhelming areas of your wardrobe.
This is where your personal style should truly come to life.
Your hanging space should make getting dressed effortless, enjoyable, and creative, filled only with garments you love, pieces that suit your body shape, colour palette, lifestyle, and personality.
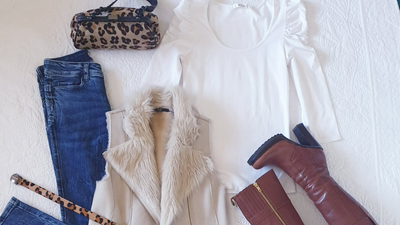
The goal is to create a mix-and-match wardrobe, where everything works together and gives you endless outfit options.
1. Where to Start
If time allows, remove everything from your hanging space and give your wardrobe a wipe-down, dust, and refresh.
Short on time? Remove 10 pieces at a time and work through it all gradually.
I find a portable clothing rack extremely helpful; it allows you to review garments properly before deciding what goes back into your wardrobe.
As you sort, take your time and try items on. Ask yourself the questions below to help you confidently decide whether to keep, alter, or donate each piece.

Questions to Ask When Deciding What Stays
- Does it fit me today?
- Does it work with my colour palette?
- Is it in good condition?
- Does it zip up easily and feel comfortable?
- How often do I wear it?
- Do I love it?
- Do I receive positive comments when I wear it?
- How does it make me feel?
- Is it dated?
- Can it be repaired, altered, or restyled?
- How many outfits can I create with it?
These questions help you declutter without stress or guilt.
Style tip: If you create an outfit you love, take a photo of it, so you can refer back to it later. If you notice gaps in your wardrobe, now is the perfect time to make a shopping list.
1. What to Hang
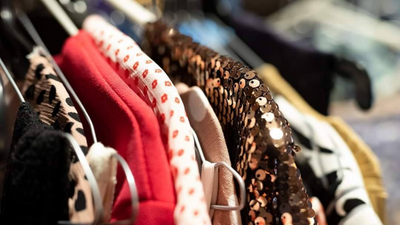
Your hanging space is highly visual, so it deserves attention, and intention.
Hang the following items:
- Blazers, jackets, and coats – they retain their structure best on hangers
- Dresses and blouses – especially delicate or crease-prone fabrics
-
Pants and skirts – folded neatly over hangers or clipped
(Tip: place a small piece of foam or cardboard between clip grips to prevent marks) - Selected T-shirts – some deserve hanging for easy access and shape retention

2. Organise by Category and Colour
Group similar items together:
- Jackets with jackets
- Shirts with shirts
- Dresses with dresses
Then arrange each category from light to dark.
I also recommend separating prints and florals from block colours, this makes styling quicker and easier.

This method helps you:
- Clearly see what you own
- Create outfits more effortlessly
- Keep your wardrobe visually calm and inviting
Style tip: Matching hangers instantly gives your wardrobe a boutique feel, making it look less cluttered.
Slimline velvet or wooden hangers are excellent for saving space and preventing garments from slipping.
Personally, I prefer velvet hangers, as wooden ones can feel bulkier in smaller wardrobes.

3. Seasonal Rotation
Keep current-season pieces front and centre, while off-season items move to one side or into storage.
Seasonal rotation keeps your wardrobe feeling fresh, organised, and helps you rediscover forgotten favourites.
4. The Goal
Your wardrobe should inspire creativity and confidence, a space filled with clothing that reflects your lifestyle, personality, and personal style – and nothing extra.
Coming Up Next
In Step 4 of our Wardrobe Edit Series, we’ll focus on shoes and accessories, to complete a wardrobe beautifully organised from top to bottom.